Note
Go to the end to download the full example code.
Simple point cloud workflow#
This example demonstrates a simple workflow for creating, manipulating,
and visualizing a point cloud using the pysdic library.
See also
pysdic.PointCloud - Official documentation for the PointCloud class.
Creating a Point Cloud#
To create a point cloud, we first need to give the coordinates of the points.
Additionally some convenience methods are provided to save and load point clouds from files.
import numpy
from pysdic import PointCloud

# Define coordinates for the point cloud
coords = numpy.random.rand(100, 3)  # 100 points in 3D space [0, 1)

# Create the point cloud
point_cloud = PointCloud.from_array(coords)
print(point_cloud)
PointCloud(n_points=100, n_dimensions=3)
Add some point properties#
We can add properties to the points in the point cloud. Here, we add a random scalar property to each point.
Each property can be multi-dimensional, e.g., a vector or tensor associated with each point. All the properties are stored in a dictionary-like structure with shape \((N_p, A)\).
point_properties = numpy.random.rand(100)  # Random scalar property for each point
point_cloud.set_property("intensity", point_properties)

multi_dim_property = numpy.random.rand(100, 2)  # Random 2D property for each point
point_cloud.set_property("vector_property", multi_dim_property)
print(point_cloud)
PointCloud(n_points=100, n_dimensions=3)
  - Property: 'intensity' with shape (100, 1)
  - Property: 'vector_property' with shape (100, 2)
Filter some points#
We can filter points based on certain criteria. Here, we keep only the points with an intensity greater than 0.5.
The inplace parameter can be used to modify the existing point cloud instead of creating a new one.
# Note that get_property returns a (N, 1) array for scalar properties, so we reshape it to (N,) for comparison
mask = point_cloud.get_property("intensity").reshape(-1) > 0.5
new_point_cloud = point_cloud.filter_points(mask)
print(new_point_cloud)
PointCloud(n_points=59, n_dimensions=3)
  - Property: 'intensity' with shape (59, 1)
  - Property: 'vector_property' with shape (59, 2)
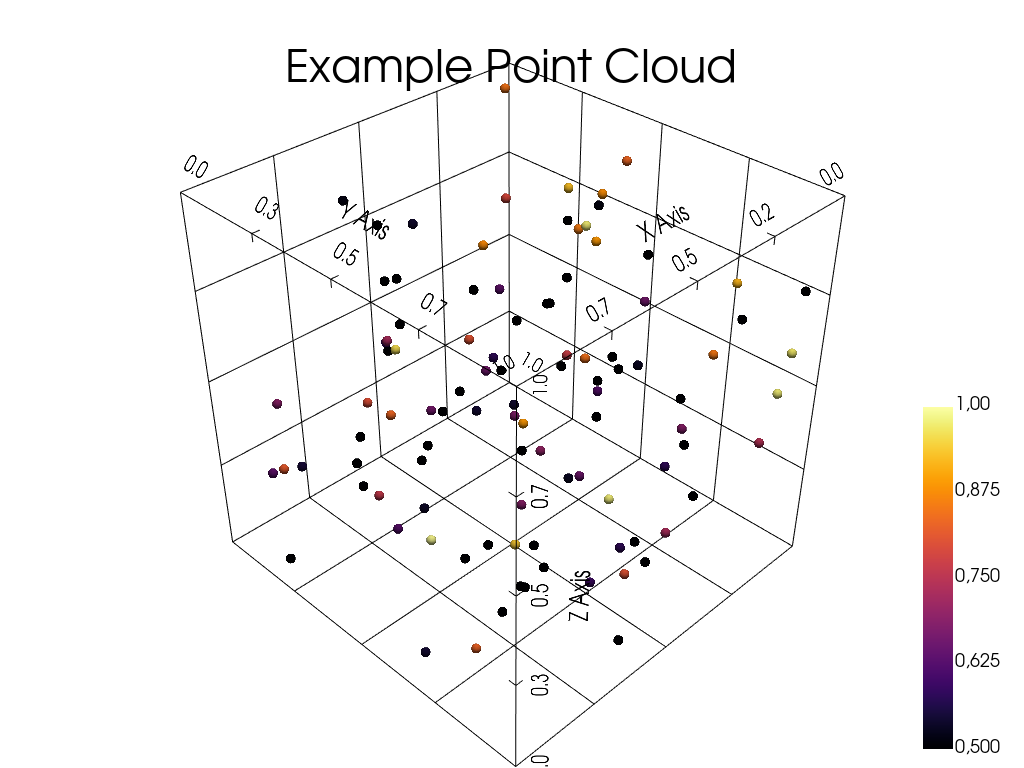
Visualize the Point Cloud#
The point cloud can be visualized using the built-in visualization method with pyvista.
See also
pysdic.PointCloud.visualize() - Official documentation for the visualize method.
point_cloud.visualize(
    title="Example Point Cloud",
    point_size=10,
    property="intensity",
    bounds_grid="back",
    property_cmap="inferno",
    property_clim=(0.5, 1),
)
Total running time of the script: (0 minutes 0.288 seconds)